First of all, I want to share something which is personal. It has been 5 months now that i could not share a post because of my father demise on 11 Dec 2021. This is harsh & utter truth that it is something on which we don’t have any control upon. My father always had a belief that future is technology, evertything in the world will be automated someday. So, he gifted me desktop when i was in class X and post XII, he asked me to persue MCA. After my first job, he stopped guiding me on anything as he had strong belief that i will excel in IT career now. So, he is/was/will always be my ROLE MODEL & INSPIRATION !!! A Big SORRY Papa if i had ever hurt you. With your blessing, I will make you proud someday. Let’s begin now !
Enroll to Intune using PPKG (Bulk enrollment)
Now, as we have completed all posssible ways to enroll Windows 10 and Windows 11 devices to Intune. with this method, we can join new Windows devices to Azure AD and Intune. Windows Configuration Designer (WCD) tool can be utilized to bulk enroll devices.
Prerequisites
- Windows 10 build 1709 or later
- Windows automatic enrollment
Steps required
Step 1: Please download Windows Configuration Designer (WCD) from the Microsoft Store.

Step 2: Please open the WCD and select Provision desktop devices.
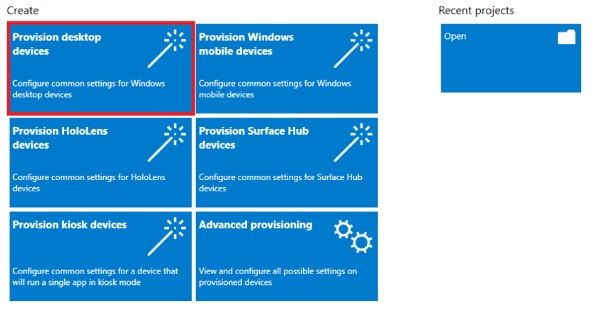
Step 3: A New project window opens where we will need to add Name, Project folder
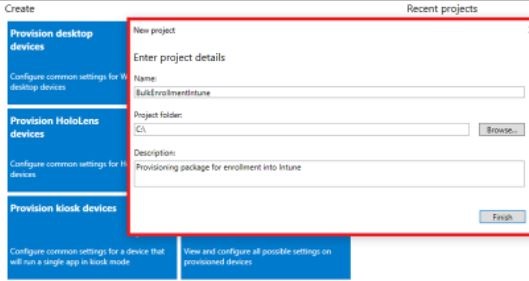
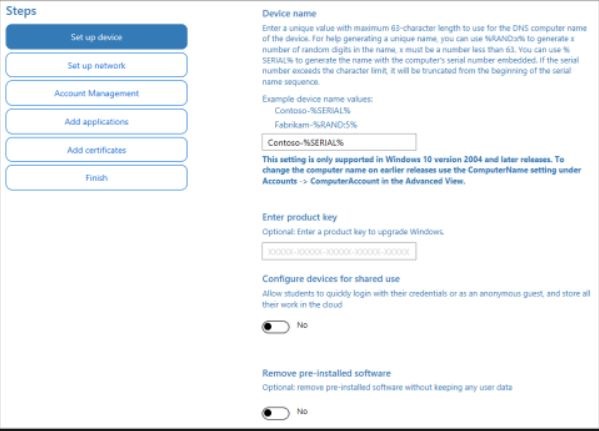
Step 4: Enter a unique name for your devices. Names can include a serial number (%SERIAL%) or a random set of characters.
Step 5: Select Enroll in Azure AD, enter a Bulk Token Expiry date, and then select Get Bulk Token. The token validity period is 180 days.
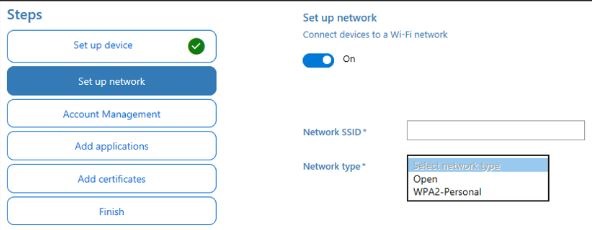
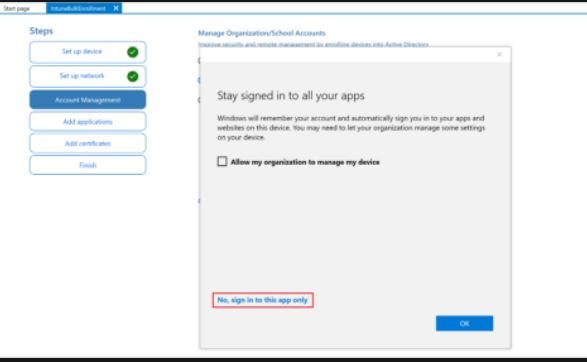
Step 6: Provide your Azure AD credentials to get a bulk token. Finally click on Finish Note:select No, sign in to this app only if you don’t want this device to register with Azure AD
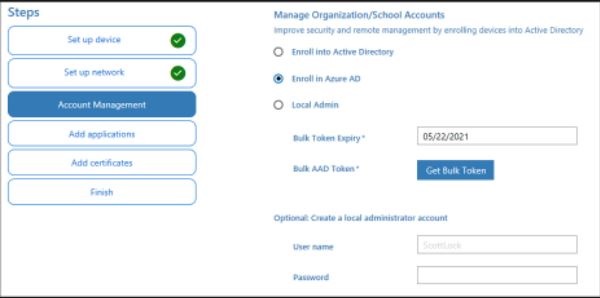
Step 7: [Optional Step]- you can Add applications and Add certificates. These apps and certificates are provisioned on the device.
Step 8: [Optional Step]-you can password protect your provisioning package. Click Create
PPKG in Action
Step 1: Get the provisioning package in the location specified in Project folder specified in the app. Step 2: Choose how you are going to apply the provisioning package to the device. A provisioning package can be applied to a device one of the following ways: - Place the provisioning package on a USB drive, insert the USB drive into the device you’d like to bulk enroll, and apply it during initial setup - Place the provisioning package on a network folder, and apply it after initial setup
For step-by-step instruction on applying a provisioning package, see Apply a provisioning package Step 3: After you apply the package, the device will automatically restart in one minute.
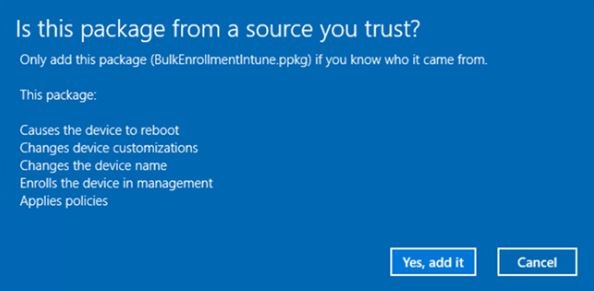
Step 4: When the device restarts, it connects to the Azure Active Directory and enrolls in Microsoft Intune.
Limitation
We canot enforce Azure AD Conditional Access policy feature.